![]()
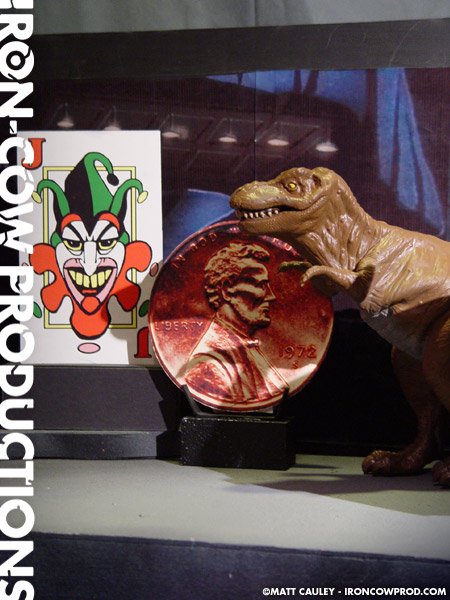
For this project you will want to first download and print the images. Do not print directly from your Internet browser; rather save them to your desktop and print them using a graphics program. Also, make sure to print both the front and rear of the penny. The files are fairly large, so be patient as they might take awhile to download.
Note: As with any ICP download, these files are not to be resold under any conditions.
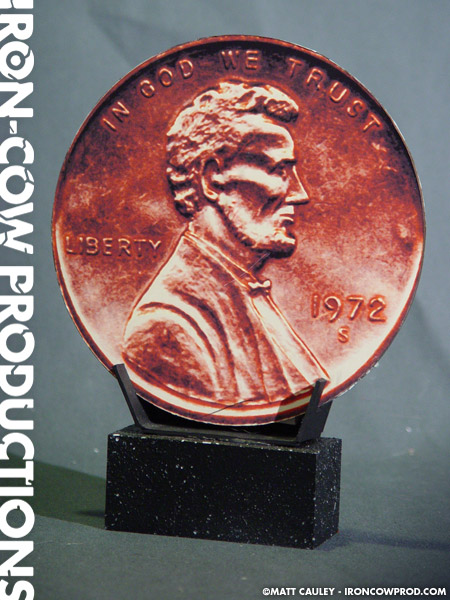
Using an X-Acto knife, carefully trim the images from the surrounding paper. The final image size of the Penny should be exactly 6″ in diameter. Next, you’ will need to find a round 6″ piece of material to mount the images onto. Personally, I went to Industrial Plastics in Manhattan and picked up a piece of acrylic Plexiglas that was pre-cut to the exact size I needed. It cost maybe $1-$2 or so, but I felt it would be far more durable than using foam core.
Once you have the material, carefully spray mount each side of the printouts to the acrylic, making sure that the image is centered, and aligned with the other side. After all that is done, you might want to use a Black Magic Marker to eliminate the white edge of the paper once it’s mounted.
Created Fall 1999
For easier saving, right-click and select either “Save Linked File” or “Open Link in a New Window”
![]()


