Particularly among DC Comics characters, the costume of a true hero is often adorned with an icon, an emblem of what that hero stands for. This is as much a part of the hero’s identity as the costume itself. Batman wouldn’t be the same without the Bat-symbol, just as Superman wouldn’t look as iconic without the S-Crest upon his chest.
When it comes to adding emblems to a custom figure, there are three methods of approach.
![]()
1. Hand-painted emblems
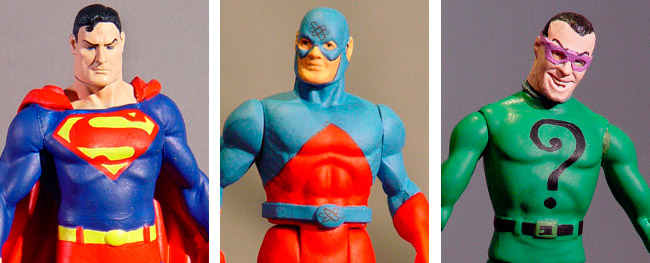
It’s messy! Don’t do it!
Seriously, though… I have hand painted emblems in the past, and there is a certain fun to it. In the end, though, I’ve found that no matter how crisp my brushwork is, the finished emblem never looks as polished as a printed emblem.

2. Printed / Decoupage Emblems
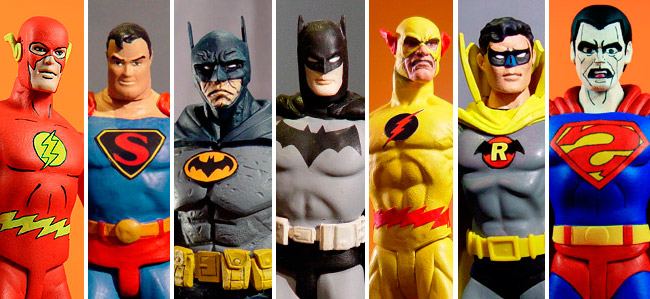
These are emblems that are created in a digital graphics program. Adobe Illustrator is the program of choice, but Adobe Photoshop also works well, although you will need to create the file at a resolution of at least 300 dpi.
For example, here are the two emblems I created for my Neal Adams Batman and Micheal Keaton Batman customs. Although these emblems seem large on the monitor due to the resolutions, they will actually print beautifully at a smaller size.

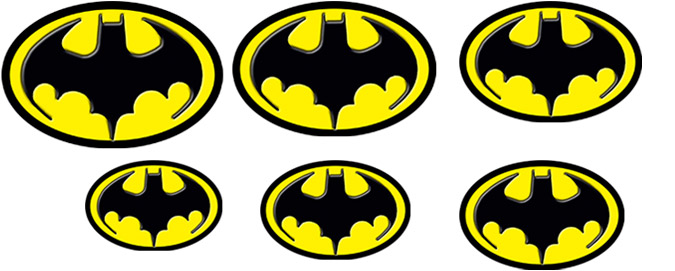
Speaking of printing, I rarely get the size right the first time around. I will create the emblem at a larger size, and then duplicate it smaller on the page. By printing various sized emblems all at once, you can just pick the size that seems to fit best, without having to go back and reprint any additional pages.
![]()
Materials
There are actually two different approaches I use for printing emblems. The first, and arguably easiest, is printing straight from your computer and cutting the emblem from the printout. This is quick, easy, and inexpensive. The only problem is that you are left with an emblem that has a white, fibrous edge from where you trimmed it. You can easily fix this by taking a pen or small brush and lightly adding black (or any color, really) to the edge to help mask the white. Believe me, it might not seem like much of an edge now, but if you don’t hide the white edge it will be the first thing you notice on the finished custom.
To apply the emblem to the figure, I recommend using Decoupage glue. This is found at almost any arts and crafts store, and looks somewhat like extremely watery Elmer’s glue. Just add the tiniest drop to the figure itself, and then push the emblem into place. Chances are, a tiny amount of the decoupage glue will seep out; simply move this gently over to the top surface to help seal in all the edges.
Note: With a digital print, you will want to test your emblem on a “junk” figure first, just to make sure the printed toner does not bleed off the decal. If you find that it does, seal the page first using Krylon’s Crystal Clear Gloss Spray. This should help prevent the toner from bleeding.
The method I prefer, though, is to use Micro-Mark Decal Paper. This is similar to the paper printouts, with the exception that you don’t have the white edge if you use the Clear Decal Pages.
The application is fairly similar, though. Print your emblem on the decal paper. Apply several coats of Krylon’s Crystal Clear Spray Finish to the sheet and let it dry between coats. This will help give you a better surface to work with.
Once dry, trim out your decal and dip it briefly into a glass of water. Set it aside for a minute and then slide it off onto the figure. Tiny tweezers might be helpful for this.
Use a soft brush to help position the emblem as well as eliminate any excessive water.
After this sets, spray the emblem and figure with a coat of the Crystal Clear. Normally you wouldn’t want to use Crystal Clear on a figure, but this helps seal in the emblem. Give this 2-3 coats, and then go back over it with Testor’s Dull Coat to eliminate the unwanted gloss finish. You’ll be amazed at the results!

Sculpted Emblems
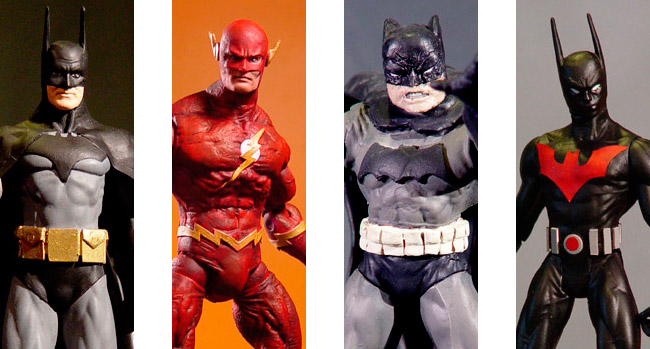
Another option for adding emblems is simply sculpting them. The benefit of this is that you will be adding a subtle, raised-edge to the emblem. For example, I used a scrap of clear vinyl for my Batman Beyond custom. This not only added a bit of dimension to the sculpt, it also achieved an effect I would not be able to achieve otherwise with a paper printout. I simply traced the desired shape onto the clear vinyl, trimmed it with an X-Acto knife, and then used Super Glue to adhere it into position.
Likewise, the emblem on my Alex Ross Batman was created with Magic Sculpt. This allowed the oversized emblem to flow along with the sculpt of the chest, and will permanently adhere to the sculpt. I used only a small amount of Magic Sculpt, and then cut the shape directly on the figure with an X-Acto blade as the Magic Sculpt began to set.
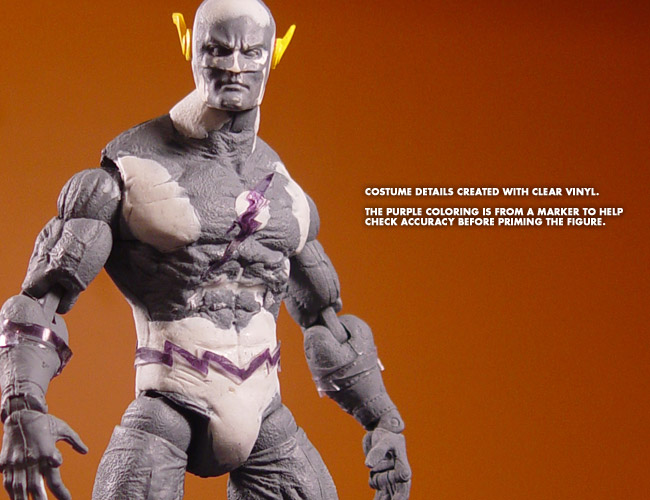
All in all, there are many ways to add an emblem to your custom action figure. Always experiment on a “junk” figure first to see how it works, and try all of the methods to see which approach you find yourself most comfortable with.
To order Micro-Mark Decal Paper and accessories, click HERE..
To order Magic Sculpt, click HERE.