The paint application can really make or break a custom.
No matter how beautiful the sculpted piece is, if it has a shoddy paint job it will ruin the overall presentation. Here are a couple tricks I have learned over the years that will hopefully help you out.
![]()
Step 1: Clean the Figure
First off, you will want to make sure your figure is clean. Often times there will be an oily residue, however faint, on a figure that you might not notice. Use a mild dish detergent and warm water to remove all oils and mold release from the parts. This will improve your paint adhesion greatly. Then, if possible, paint the parts separately if you can.
For example, whenever I make a Batman I will keep his belt as a separate piece and add it on once all the painting is done.
![]()
Step 2: Priming the Figure

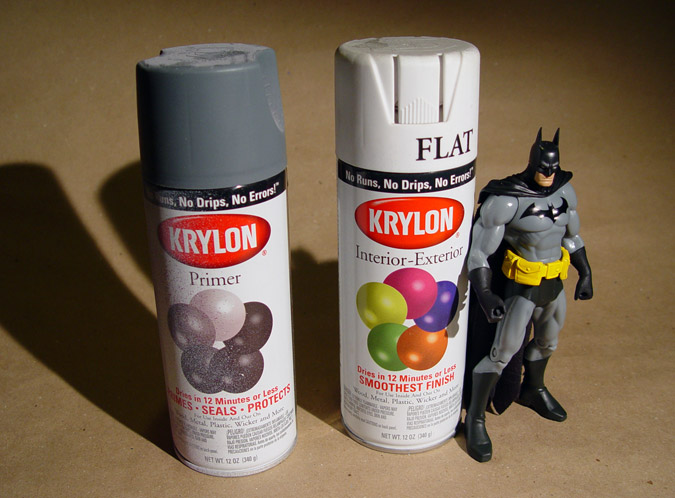
As far as painting a figure goes, it really depends on the materials you’re using. For me, I almost always prime the figure first with Kyrlon’s Spray Primer Grey. Once that dries, I’ll spray it with a coat of Krylon’s Spray Flat White to give it a nice white overall coat. This makes the later colors really pop out.

A buddy of mine, Jeremy, aka SpyMagician, turned me on to an alternative option: if you really want a durable figure, don’t prime with standard primer, but use a flexible paint made to bond to plastic like Plasti-Kote Vinyl Color (sold in auto shops for car seats.) It has limited color selection but is VERY durable on PVC. I have recently started using this and I gotta say it works great. It takes a little while to build up a solid coat, so I usually do a few coats of the Plasti-Kote White, and then finish it off with the Krylon Spray Flat White.
By using the Plasti-Kote first, it seems my paint doesn’t chip off near the joint areas nearly as much as they had using just the regular primer.
![]()
Step 3: the Paint

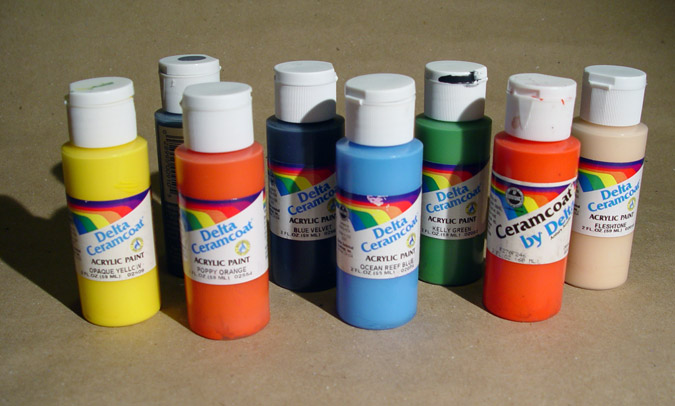
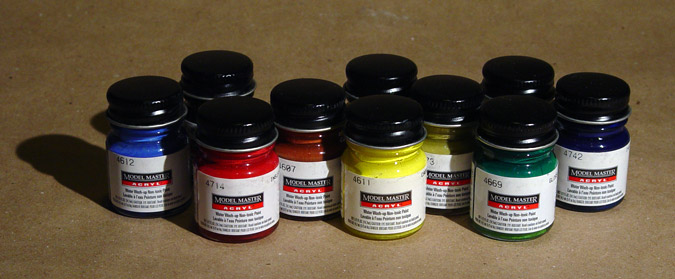
Regardless of how you get the base coats on, the next step involves the actual coloring of the custom. I tend to use Delta Ceramcoat Acrylics, found in any arts and crafts store for a dollar or so. Apply them in thin layers: it’s better to do a few light coats rather than one thick coat. Lately, though, I have been experimenting with Testors Acrylics and man, they make a world of difference. It’s like painting with liquid glass or something. The colors go on extremely smooth.

I can’t say I recommend one over the other. Testors Acrylics work amazing for the most part, but sometimes I don’t get the opaque qualities that Delta Ceramcoat acrylics provide.
Another option is using Citadel Acrylic paint, which I hear works remarkably well, though I haven’t had a chance to experiment with it myself. For Games Workshop Citadel Color, the only online way now is their own website http://www.gamesworkshop.com/storefront/store.us
As they no longer allow other sellers to sell their product online (you can fax or call in orders and most online game places still do sell their stuff, just can’t list it online e.g. www.doordice.com
Anyway, take your time with painting. Make sure you use fresh brushes. Once they start getting worn out, throw them out. It is not worth the effort to struggle with a splayed brush. Apply the paint in a few light coats as opposed to one thick coat. This will help provide a smoother application, and will result in a stronger bond overall. For surface areas near a joint, use a slightly thinned version of the paint and gradually build up a surface.
Patience is really important when painting a custom.
![]()
Step 4: Spraying with Dull Cote
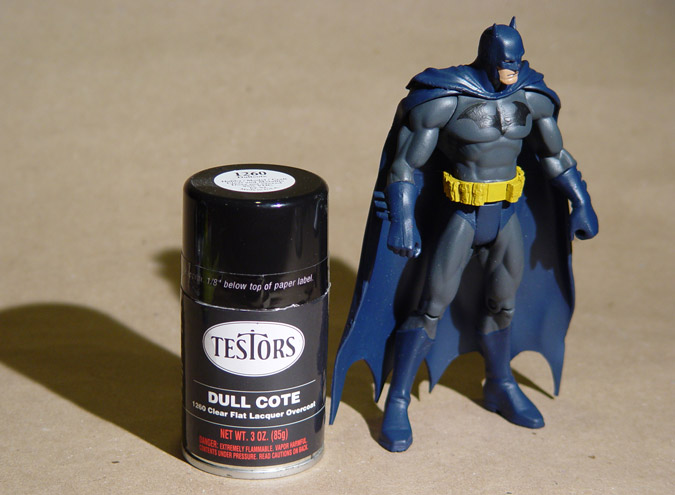
Finally, once you’re done, give the figure a healthy coating of Testors’ DullCote Spray.
This really helps even out all the lusters and gives the figure that ‘manufactured’ quality, making it seem like a real toy, and not a custom. And actually, if you buy a toy that’s pretty shiny and has that “cheap plastic” look, then hit it with a coat or two of DullCote and that will make it look like it is made of a better grade of plastic.

Someone recently asked me about customizing dolls.
For dolls, though… that’s tricky. They use a different form of plastic…vinyl, I think. I have never had much success spray on that type of material. It seems the paint never dries quite right, and remains tacky (which attracts dust like crazy after awhile). And most spray paints won’t adhere to it anyway. There have been a couple soft plastic capes I have tried to spray, and the paint just turns it to a mess. Because of this, you’ll want to experiment first, so find a ‘junk’ figure/doll and try out some sprays. Get the hang of some of the techniques first, and then apply it to your custom.
Just remember, it’s always an ongoing learning process. And the more you experiment, the more comfortable you’ll be with the final results.
Hope this helps!

