


![]()
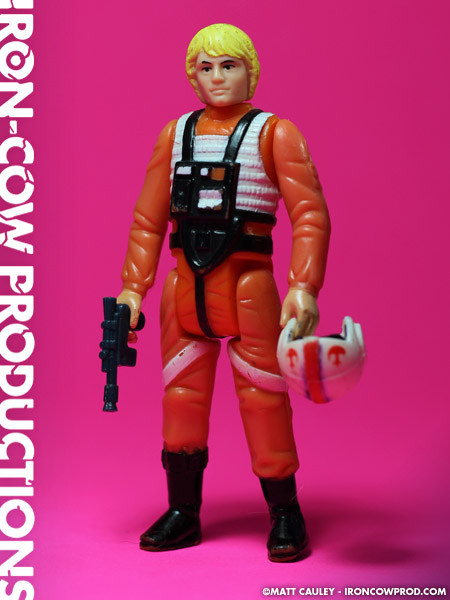
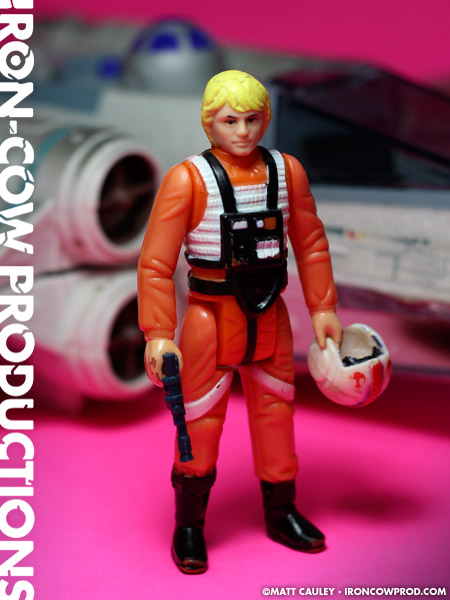
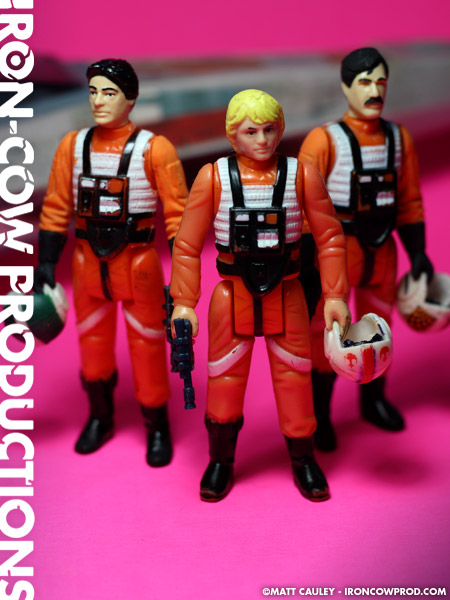
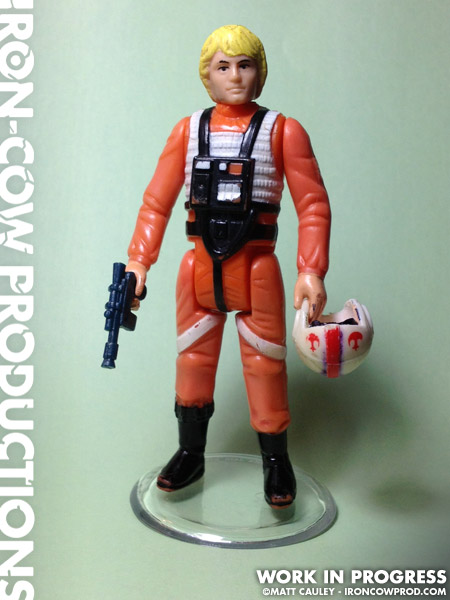
After my recent move, I realized I had quite a few surplus vintage Star Wars figures lying around. I hadn’t quite set up my studio yet, and I was looking into some quick and easy custom toy projects to get the creativity going again. Luke, in his X-Wing Gear, with a removable helmet, was a project I had seen all over the internet. It felt like the perfect project to dive into.
I soaked a vintage Luke (X-Wing Pilot) figure in a cup filled with near-boiling water. This softened up the plastic enough for me to pop off the original head and replace it with one from a Bespin Luke Skywalker (my preferred headsculpt of the character). With the leftover pilot head, I took my Dremel and hollowed out the inside of the helmet. It’s a bit rough on the inside, and doesn’t actually fit over Luke’s head anymore, but it certainly looks great on the shelf.
Nothing like a quick and easy project to kickstart the creativity again.
Created Fall 2013
![]()
![]()
