![]()
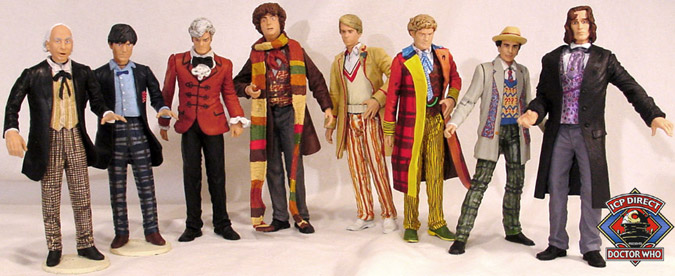
When I initially began my series of Doctor Who customs, Dapol had been the only company thus far to offer Who action figures. Though they offered a wide variety of character selections, the production quality was fairly mediocre. The likenesses were poor and the paint applications lackluster.
Still, it did inspire me to attempt my own set of Doctor Who action figures. Doctor Who had been a childhood obsession, and frankly I needed a break from customizing the spandex world of Batman.
The most daunting challenge at first was getting an accurate likeness, but the more the project developed, the more I realized how important it would be to capture the intricate patterning of the costumes. So much of the personality of each character is tied up in the type of clothing the actor wore.
My first solution would be to create all the patterns digitally in Photoshop, print them out, and decoupage them on. I tried this on a handful of figures with mixed results. It looked good at first, but only on the straight areas of the legs. Whenever there were wrinkled areas, the decoupage didn’t work out so well. Plus, the paper tended to fade quickly and the edges were difficult to protect.
After only a few days the customs showed signs of wear and tear.
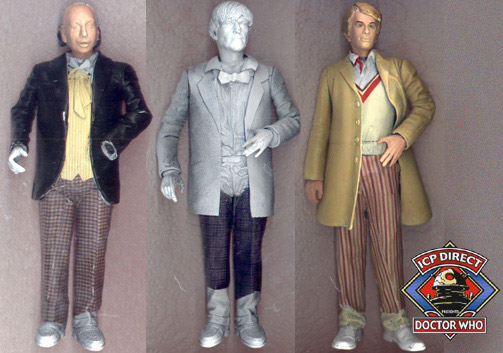
As an experiment, I decided to try hand painting the plaid on the Seventh Doctor (the one wearing the light grey coat). What took me half an hour with paint would have taken me a few days with decoupage. Though the plaid didn’t turn out as crisp as I would have liked, it looked great on the shelf from a couple feet away; even up close it had a convincing quality.
True, it didn’t look factory produced, but I was happy all the same.
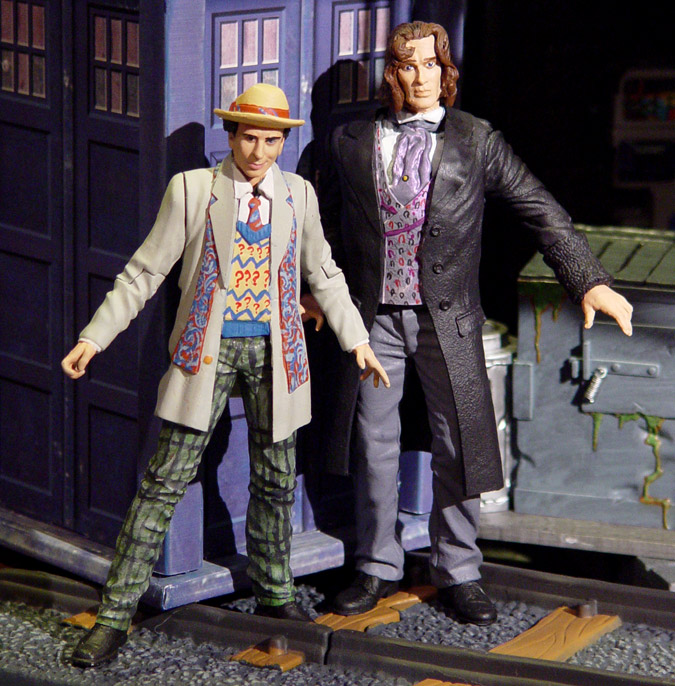
This led me to hand paint the patterns on the rest of the customs. Generally I’d paint a base color and then paint the thickest stripes first. Washes of paint helped create intermediate colors. The thinner lines went on top and the thinnest lines were created using a mechanical pencil.
For the black pinstriping on some of the Doctors, I used a Uni-Ball Brand Vision Fine grade Waterproof Black Ink Pen. This pen is *THE* best pen, and it’s actually what I use exclusively when creating my Illustration work. It takes some experimentation when applying it to painted plastic, but provided you exercise care when handling it, and after it’s Dull-Coted, it will hold up well. Plus, it provides a crisp line quality that I couldn’t achieve even with the finest paint brush.
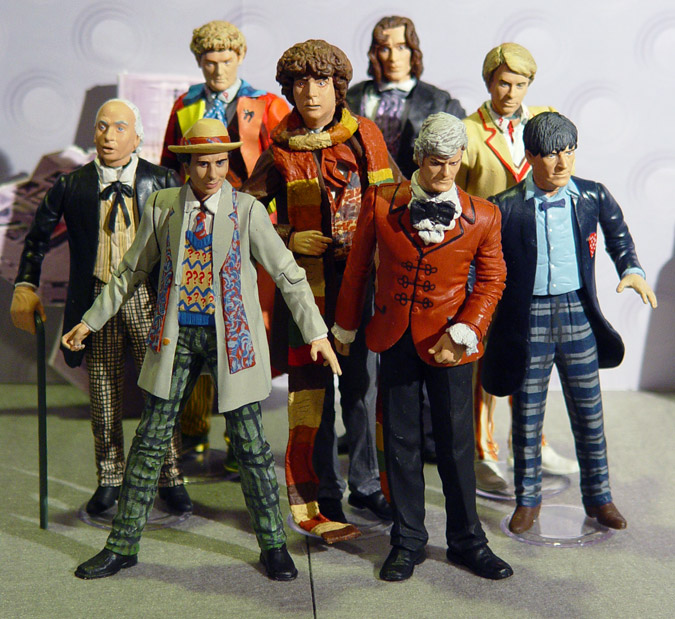
Once I get all the plaids painted, I’d mix up a really thin wash to apply to the shadows. I normally don’t paint shadows on my customs, but on the patterns I felt it really enhanced the effect.
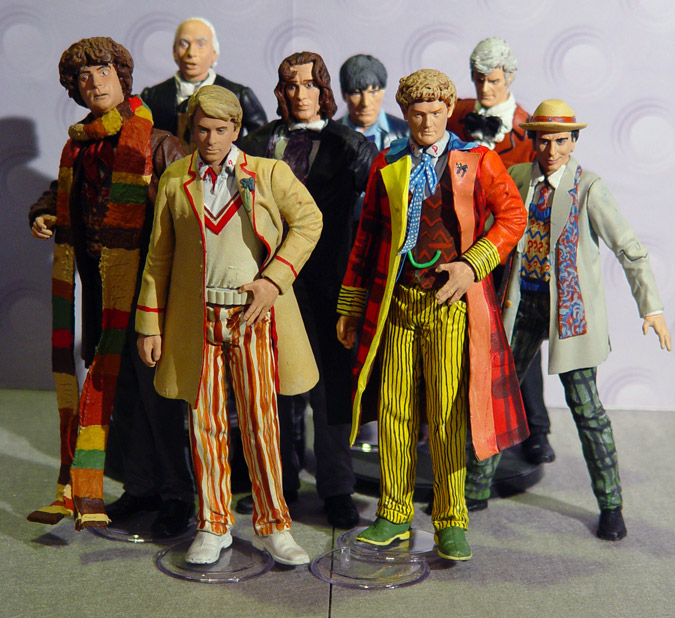
The main advice is can offer is patience. Even if the lines are uneven at first, you can always go back to the base color and touch up the edges. I found it helpful to have a lot of photo reference near me, and I referred to actual fabric samples as well.
Ultimately once you begin to paint your own plaids, you’ll see what works and what doesn’t. Provided you use thin paint applications, you really can’t go wrong. Any mistakes are easy to correct, and the end result is easily worth the effort.
